

The shelf lets me have extra, usable, active storage, and let's me stand while I sew at the machine, which I often prefer. Since my machine is easily portable, it can be moved to the dining table for a big, day-long project if needed. I have a Brother sewing machine which is also an embroidery machine--so it's nice to have all the attachments and machine extras organized here in one place. When I need to convert it to embroidery mode, I make room there by moving my sewing caddy, attach the extra arm, change the foot, and I'm ready to go. My sewing caddy box with the handle came from Michaels last year--I used the coupon so it was a great deal. It's usually sitting there by the machine--but it is full of supplies that can travel around the house if I'm doing a hand-stitching project.


I've been reorganizing to make the most of my stash all year! I think being organized and knowing what you have, as in "active storage" rather than simply being a warehouse for stuff you've lost track of, is the number one way to dash your stash. Saves money! And it's a plan that applies to every room in your house. Happy Stitching.
Stash Dash 2015
Organize Your Fabric
Reorganizing My Craft Desk
Reorganizing My Small Stamp Collection
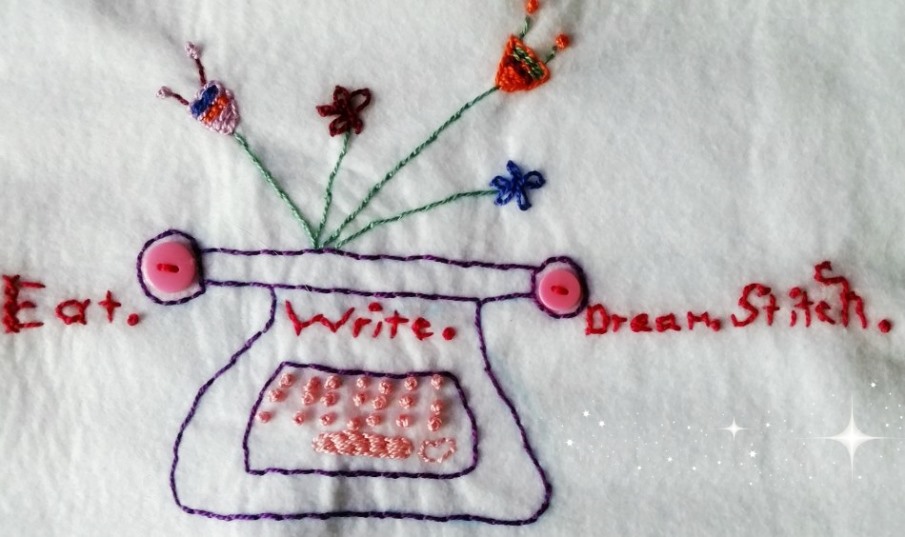
Eat, Write, Dream, Stitch


